Table of Contents
Introduction
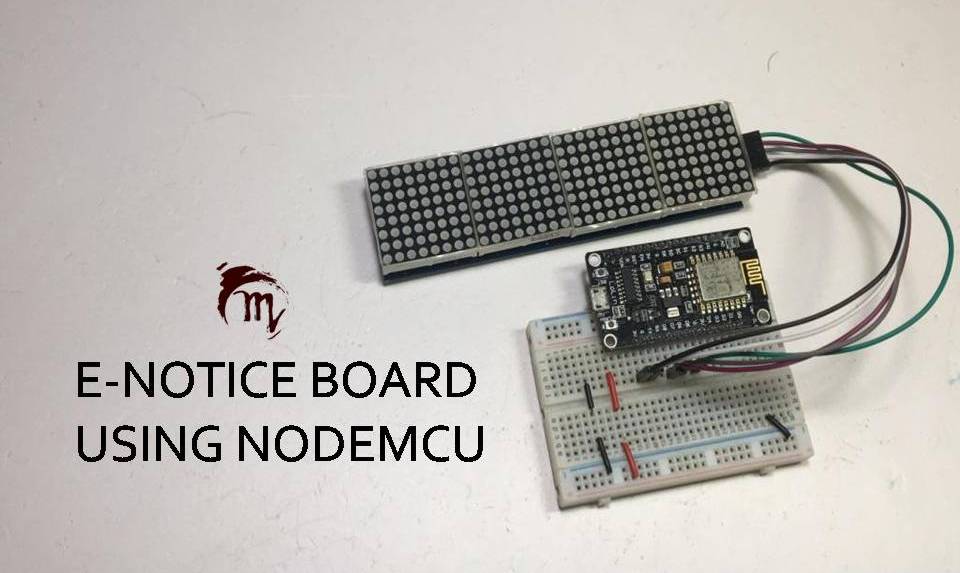
In this tutorial, we will make a WIFI based notice board that can display text messages and can be changed at any time. Here we will use MAX7219 32×8 dot matrix display module to display our text message and nodeMCU as our microcontroller. In one of our tutorials on how to Bluetooth-based notice board, we make use of Bluetooth to communicate wirelessly with Arduino UNO. But in this tutorial, we will use WIFI to communicate wirelessly which will give a long range of communication within the WIFI network. As this system works on the same WIFI network you may call this is the disadvantage of this project.
On the other hand, if you want to make a notice board for an organization or for an institution this is the best project.
About 32×8 dot matrix Display
The basic display is about an 8×8 dot matrix of LED on a MAX7219 IC. But the module we are going to use is about 32 LED in columns and 8 LED in rows. So this 32×8 LED matrix is driven by 4 MAX7219 IC. Each IC is responsible to control 8×8 LED matrixes. These modules can make a daisy chain-like structure and build to a comparable size.
Display Specifications
- The size of the display is about 128x33x15 mm.
- LED Matrix contains 256 dots (32×8).
- Color: RED
- This can be interfaced using 3-Wire Serial Interface.
- Voltage: 4.5 ~ 5v
Hardware Requirements
Disclaimer: It contains Amazon affiliate links. which means I can get a small commission on the sale. This might be your indirect help to me. Thank You 🙏- NodeMCU v0.1 (HERE)
- MAX7219 32×8 Dot matrix display. (HERE)
- Small breadboard (HERE)
- Connecting wires. (HERE)
Software Requirements
- Arduino IDE (You can download it from HERE)
- MAX7219 DMD Library
Block diagram

Circuit Diagram
Follow the circuit diagram and the table below and build the connection correctly.

MAX7219 IC 32×8 DMD Display Connection
| 32×8 Display | NodeMCU |
| DIN | D7 |
| CS | D8 |
| CLCK | D5 |
| VCC | 3v |
| GND | GND |
Video Tutorial
Download Source Code
Download the complete source code: click here
