Table of Contents
Introduction
While developing a web application we need to test it on a local machine by creating a local server. So, XAMPP is the best choice although many other software packages are available like WAMP, LAMP, and others.
Here we are using XAMPP, as it is easy to use and comes with a full AMP stack. XAMPP is a combination of Apache, MySQL, PHP, Perl, and some software tools like PHPMyAdmin for database access, File Transfer Protocols like FileZilla FTP server, email servers like Mercury, and even Tomcat server are included in the software package.
XAMPP
- Apache: It is the most popular and default web server application which manages the HTTP request and it is maintained by Apache Software Foundation.
- MySQL: It is the most popular database management system. This is also an open-source application. This application manages the data with a lightweight structure. This application stores data and processes it very efficiently.
- PHP: It is also open source and works very well with MySQL and it is very popular among web developers’ choice. It is a server-side scripting language.
- Perl: It is also a scripting language for high-end development.
It is a cross-platform application that can be installed on WINDOWS, MAC, or LINUX. But here we will install it on a WINDOWS machine.
How to Download XAMPP
STEP 1: Open your browser and visit the APACHE website to download.
STEP 2: Download xampp application as per your requirement. Here I am downloading 7.3.27 you can download the upper version. This difference is only about the version of PHP.

How to Install XAMPP
STEP 1: Right-click on the installation file and Run as administrator. A warning message will pop up just click on OK.

STEP 2: It will start the installation process. Just click on the NEXT button.

STEP 3: After pressing the NEXT button some customization options will be provided. Just do not change anything and press the NEXT button.

STEP 4: After clicking the NEXT button on the above step 3, now you need to specify the installation directory. I prefer to be in the same directory. You can also leave it as it is and press the NEXT button.

STEP 5: After clicking the NEXT button from step 4 now the below image will pop up, again just click on the NEXT button.

STEP 6: Now the whole system is ready to install, press NEXT to start the installation.

STEP 7: The installation process will start. Now just wait for the completion.

STEP 8: After the completion of the installation the below window will open. Just click on the FINISH button and enjoy.

STEP 9: This window will ask to change the language. Just click the SAVE button.

How to start XAMPP
STEP 1: Go to the window and search XAMPP and open it. After opening you will see this window. Just click on the Start button which is in front of the Apache option.

The next window will ask for permission if your Firewall blocking this application. Just click on Allow access.

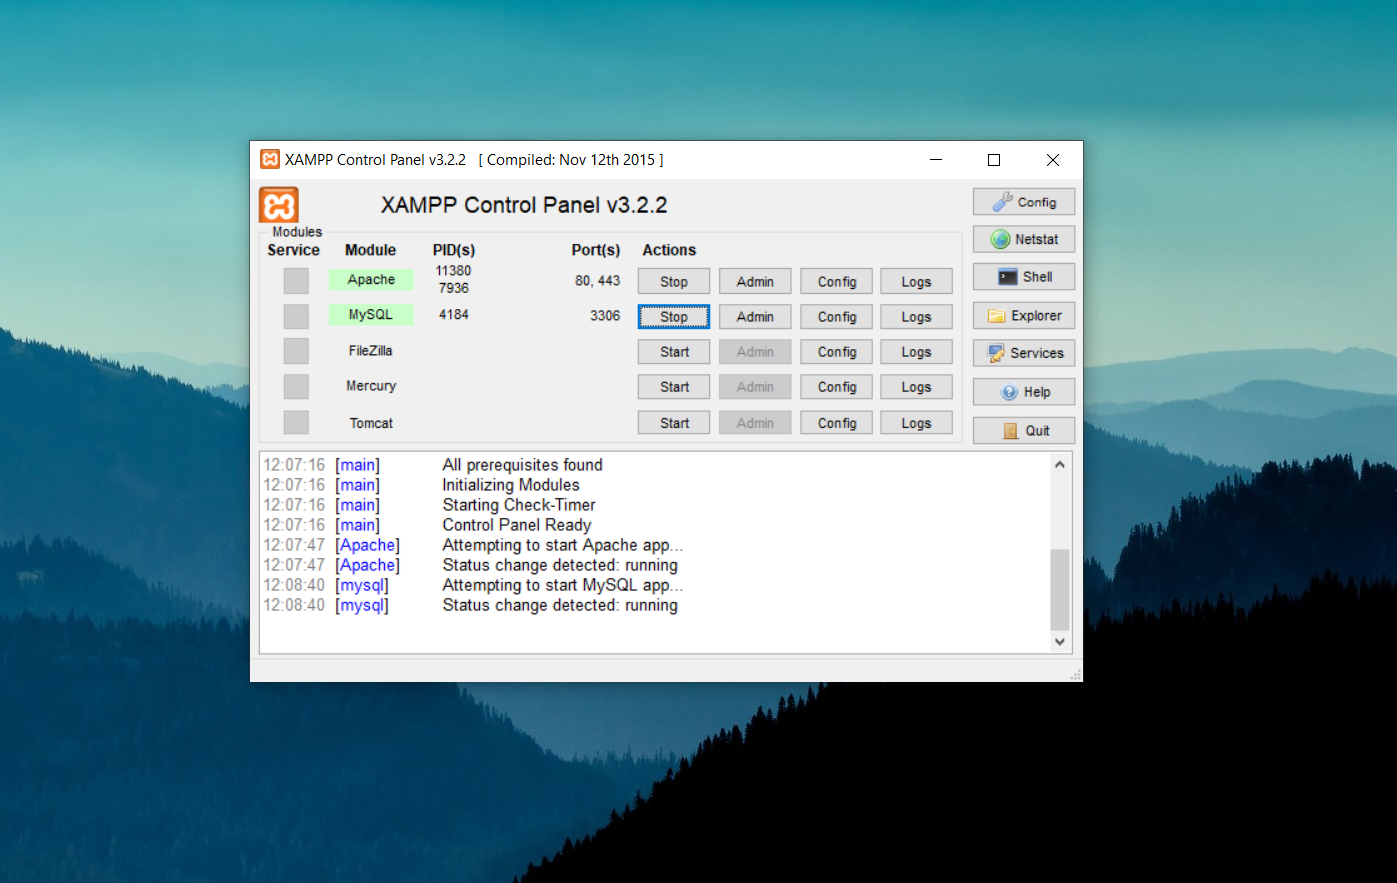
STEP 2: Now just click on the Start button in front of the MySQL option. It will ask for permission, just click on Allow access and start the MySQL server.


Now you can compare your setting with the below image. It should be like the image provided. This means you have started both servers successfully.

How to test XAMPP
STEP 1: Open your browser and type localhost/ and press ENTER you should be redirected to the default dashboard as shown below.

How to open MySQL
Open your browser and type localhost/phpmyadmin and press ENTER.
