Table of Contents
Introduction
Managing a queue becomes much more difficult when the time taken to serve cannot be predetermined due to various reasons. The least that the service seekers expect is to be served on a First Come First Serve basis. To ensure this one of the methods that were traditionally followed was to hand over recycled tokens to the patients walking in and make them meet the concerned consultant upon being called. This manual process is very tedious and prone to human errors, suspicion of tampering, and communication problems among hospital staff. Such problems made it necessary to have an automatic Token Management System in place.
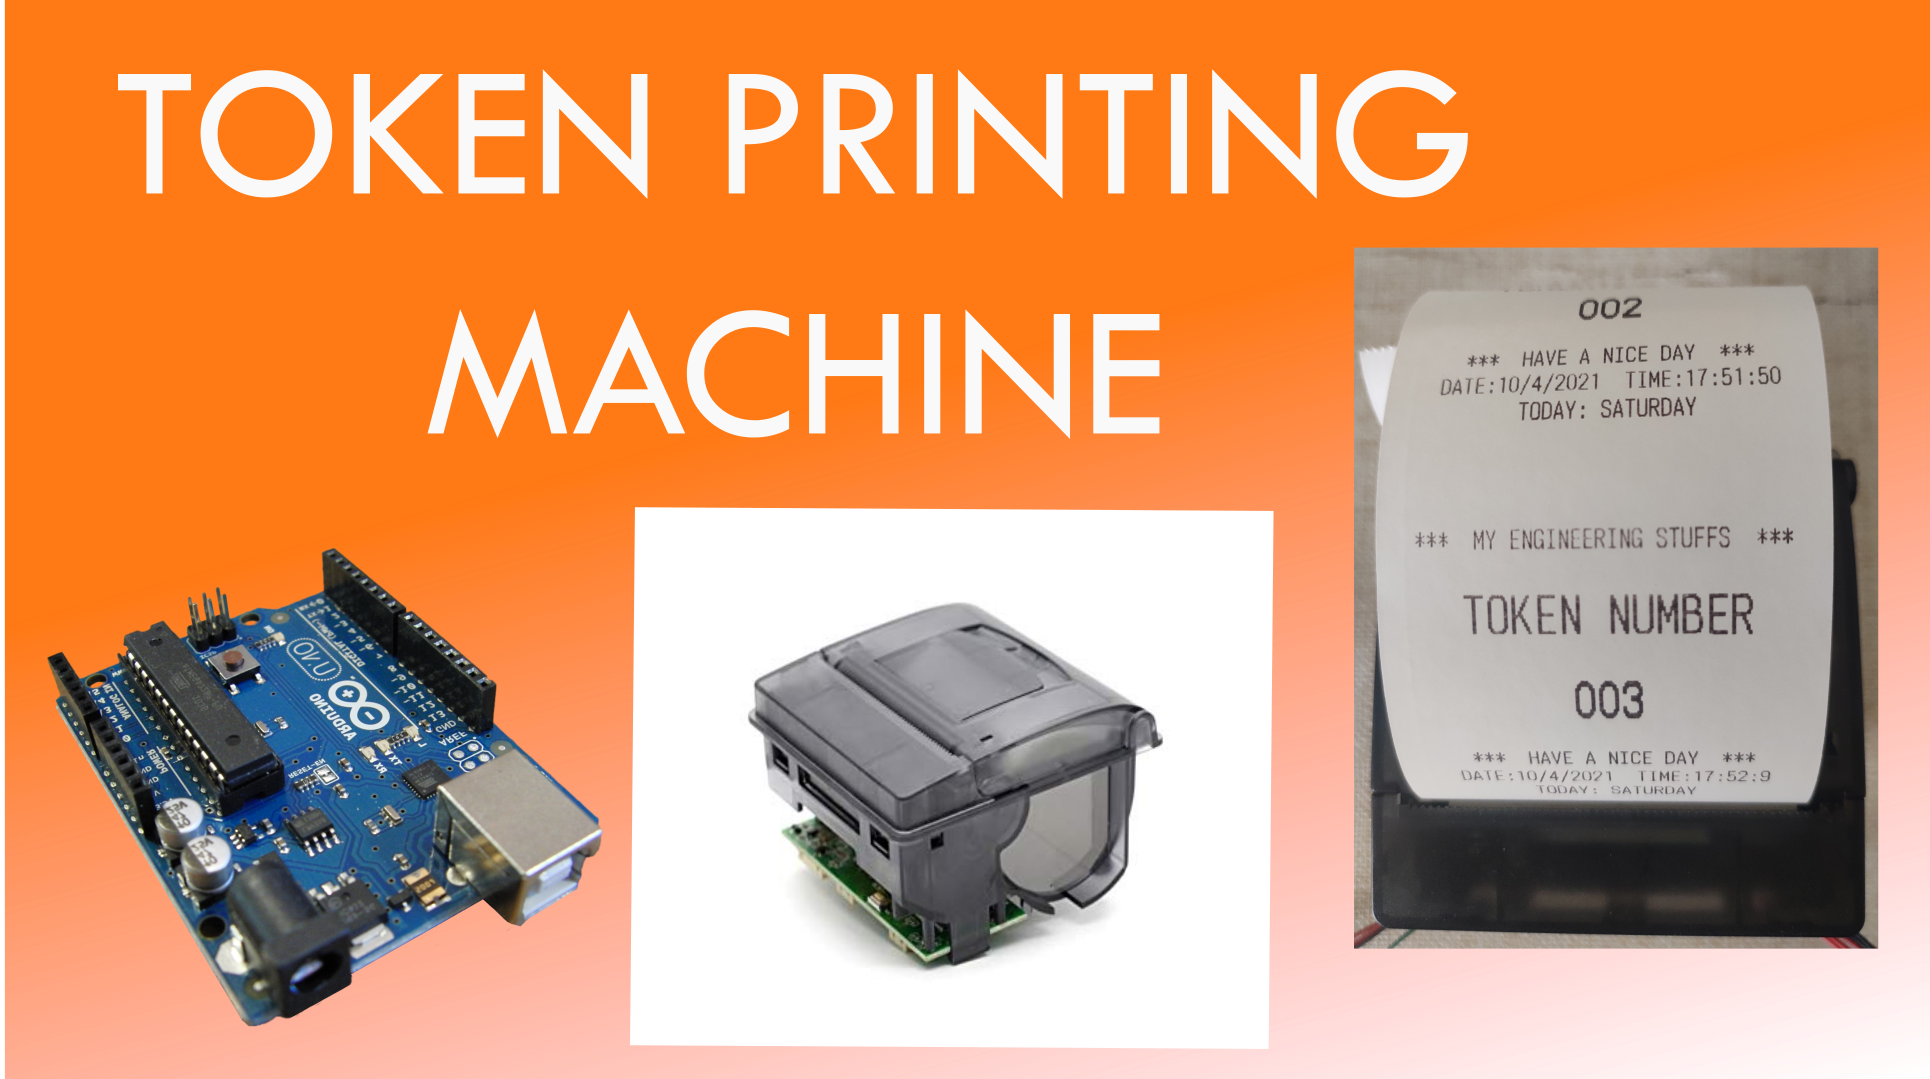
About Thermal Printer
A Thermal TTL (Through-The-Lens) printer is a type of thermal printer that prints by passing a heating element over specially treated thermal paper, causing the areas exposed to the heat to darken and form an image. The term “TTL” refers to the printing mechanism where the printhead lens is positioned directly against the thermal paper, allowing for a precise image transfer. These printers are commonly used in point-of-sale systems, receipt printing, and label printing applications. They offer high printing speed, low noise, and low cost compared to other printing technologies.
Hardware Requirements
Disclaimer: It may contains Amazon affiliate links. which means I can get a small commission on the sale. This might be your indirect help to me. Thank You 🙏- Arduino UNO (HERE)
- Thermal Printer (HERE)
- Small Bread Board (HERE)
- Connectors (HERE)
- RTC DS1307 (HERE)
- 12v,2AMP Power adapter (HERE)
External Power Supply
- Transformer 12-0-12, 2amp – 1no
- 1N4007 bridge diode – 4nos
- 1000uF capacitor, 40v – 1no
- LM7805 Voltage regulator – 1no
- LM7805 Voltage regulator – 1no
- 5mm RED LED – 1no
- 1K ohm resistor – 1no
Software Requirements
- Arduino IDE (You can download it from HERE)
- Printer Adafruit library
- Arduino RTC Library
- Wire Library (Inbuilt within the IDE)
- Software Serial Library (Inbuilt within the IDE)
Circuit Diagram

Circuit Explanation
- The power supply
- RTC DS1307
- Thermal printer
- Switch
Power Supply: An external power supply is used, because of the thermal printer we need to supply proper current and the minimum current requirement of thermal printer is about 2 Amps. So, we used an adapter with a rating of 9v and 2Amps. You can build you own power supply as show in the circuit diagram.
DS1307 RTC module: Please visit this article to know how to interface the DS1307 RTC module with Arduino UNO. As we know the RTC is powered with a built-in button cell which helps to track the real-time. Please refer to the below table or you can follow the tutorial on how to interface RTC.
| DS1307 RTC | Arduino UNO |
| SDA | A4 (SDA) |
| SCL | A5 (SCL) |
| VCC | 5v |
| GND | GND |
Thermal Printer: Please visit this article to know how to interface the Thermal printer with Arduino UNO. As we know the printer works on serial communication which makes use of Tx and Rx for communication. Please refer to the below table or you can follow the tutorial on how to interface the Thermal Printer.
Switch: The switch is of two terminal. So, one terminal of switch is connected to common ground and the other terminal in connected to pin A0 of Arduino UNO through a pull-up resistor of 1K ohm.
Video Tutorial
Download Source Code
Download the complete source code: click here